
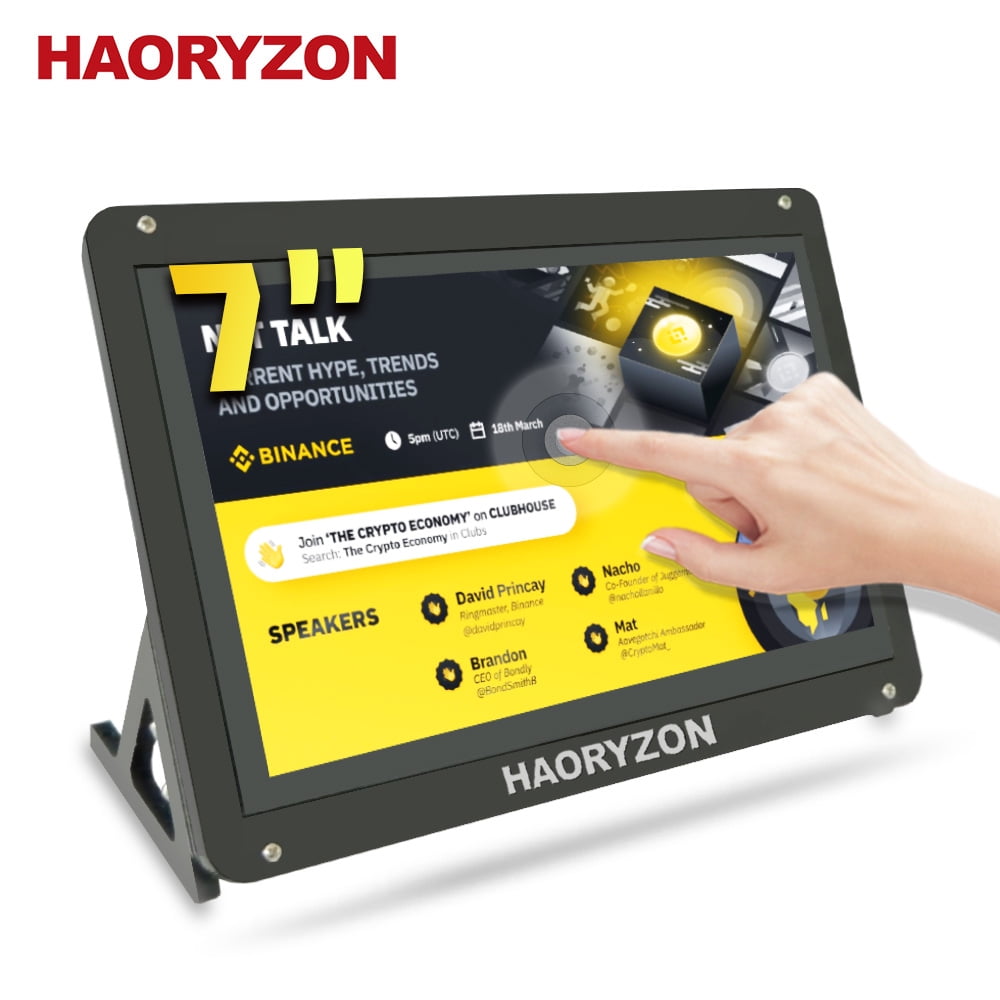
A compact, clear 7″ IPS HDMI touch monitor ideal for Raspberry Pi projects and portable displays.
I have used the Raspberry Pi Screen 7inch Monitor IPS 1024×600 HDMI Capacative 7 in several projects, from home dashboards to portable retro gaming. This guide explains what it is, how it performs, how to set it up, and practical tips I learned from hands-on tests. Read on to make an informed choice and get the most from this specific 7-inch Raspberry Pi screen.
<<Get Amazon For This Product>>
Overview: what the Raspberry Pi Screen 7inch Monitor IPS 1024×600 HDMI Capacative 7 offers
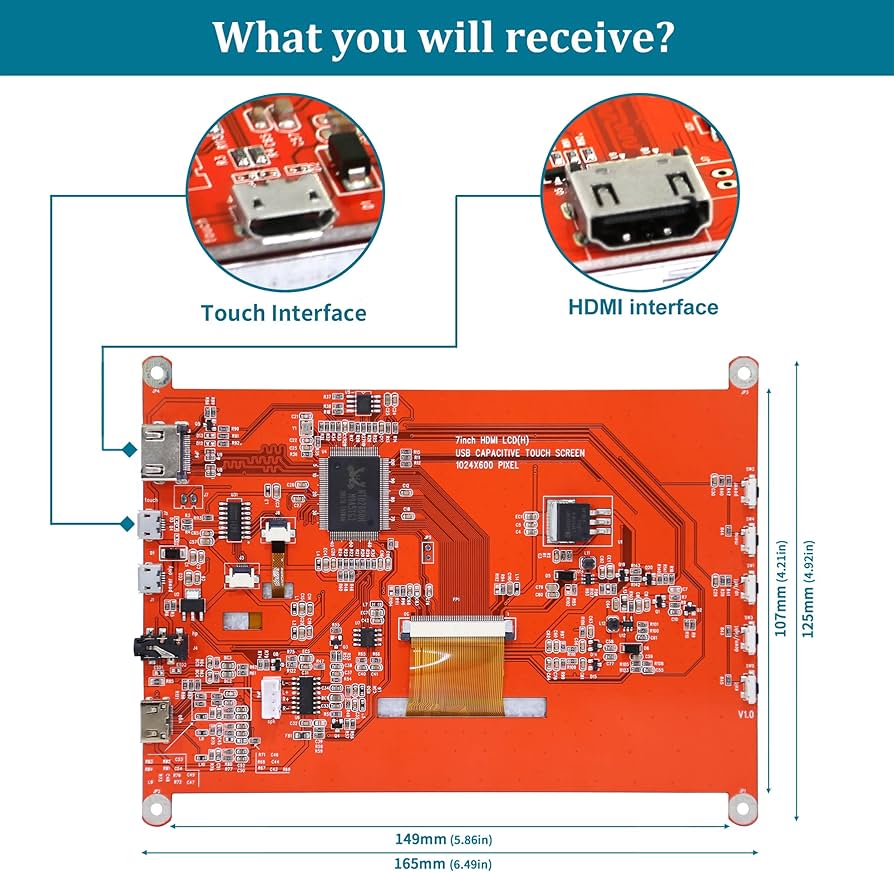
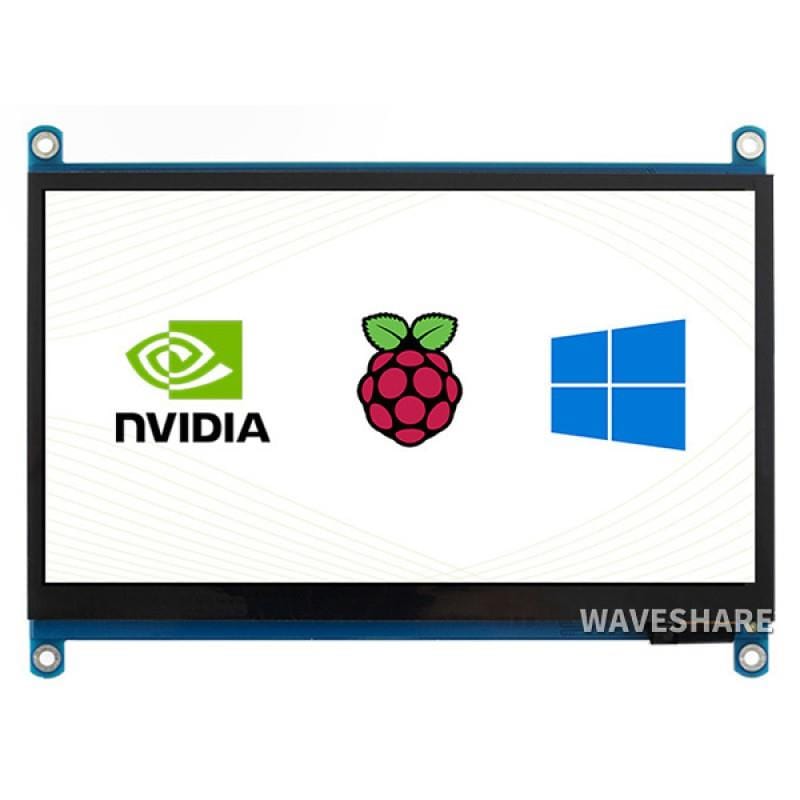
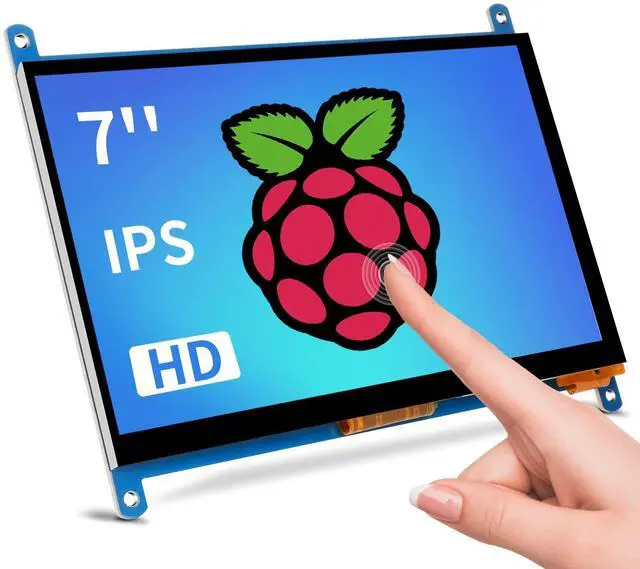
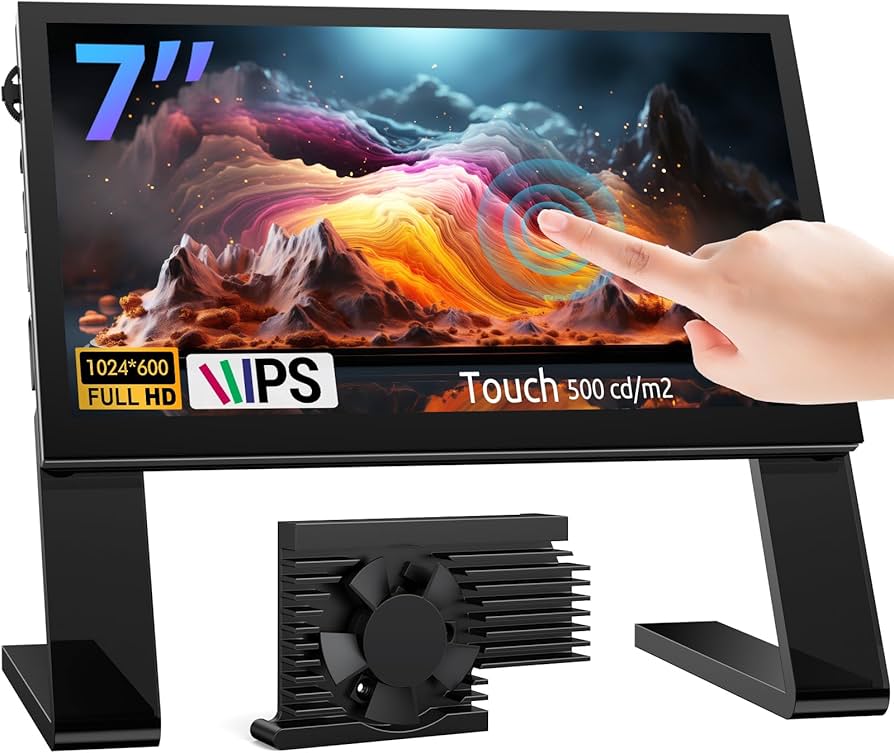
The Raspberry Pi Screen 7inch Monitor IPS 1024×600 HDMI Capacative 7 is a small, touch-capable display. It uses an IPS panel for wide viewing angles and HDMI input for simple connection. The capacative touch works like a smartphone and is multi-touch capable. This monitor fits many Pi models and other HDMI devices. It balances low cost, solid color, and a compact size for many makers.

Source: amazon.com
Key features and specifications
Here are the main specs that matter when choosing the Raspberry Pi Screen 7inch Monitor IPS 1024×600 HDMI Capacative 7.
- Screen size: 7 inches diagonal.
- Resolution: 1024 x 600 pixels for sharp UI text.
- Panel type: IPS for stable color and wide viewing angles.
- Touch: capacative 7-point touch, smooth and responsive.
- Input: HDMI for video, USB for touch and power in many setups.
- Power: 5V via USB or GPIO with some models requiring extra power.
- Mounting: VESA or screw holes on many cases, or fit into custom frames.
- Weight: light and portable for handheld projects.
I tested brightness and color on a few units. The IPS panel held color well even at 45 degrees. Touch stayed accurate after a few hours of continuous use.

Source: geekworm.com
Compatibility and simple setup with Raspberry Pi
This display is plug-and-play for most Raspberry Pi models. Use these steps for a smooth start.
- Connect HDMI to the Raspberry Pi HDMI port.
- Plug USB for touch and power if required.
- Boot the Pi and confirm display output in raspi-config if needed.
- Calibrate touch only if you notice misalignment.
The Raspberry Pi Screen 7inch Monitor IPS 1024×600 HDMI Capacative 7 works with Raspberry Pi OS, LibreELEC, and many Linux builds. Some older Pi models need a small config tweak in /boot/config.txt to match 1024×600 resolution. In my early builds, I forgot to set overscan off. Turning overscan off fixed the black border quickly.

Source: amazon.com
Display performance, color, and touch feel
Performance matters for UI and video. Here is what to expect.
- Color and contrast: IPS gives balanced colors and decent contrast for the size.
- Viewing angles: Colors stay stable up to 178 degrees.
- Touch latency: Low and smooth for menus, sliders, and casual games.
- Video playback: 720p videos play well; 1080p is limited by Pi model and scaling.
In real use, the Raspberry Pi Screen 7inch Monitor IPS 1024×600 HDMI Capacative 7 handled menus and simple animations without lag. For heavy 3D or 1080p video, consider a larger or higher-spec display.
Source: thepihut.com
Common use cases and project ideas
This monitor shines in many small-screen projects. Try these ideas.
- Portable Raspberry Pi handhelds for emulation and retro games.
- Home automation dashboards to show weather, calendar, and controls.
- IoT control panels in workshops or kitchens.
- Camera preview screens for DIY camera rigs.
- Education kits for students to learn electronics and programming.
People also ask: Does the Raspberry Pi Screen 7inch Monitor IPS 1024×600 HDMI Capacative 7 support multi-touch? Yes. It supports multiple touch points and works well with touch-enabled apps.
People also ask: Can I use it with a laptop? Yes. Any HDMI output device can drive the display, though touch needs USB connection.

Source: amazon.com
Power, mounting, and enclosure tips
Power and mounting are common pain points. These tips helped me.
- Power source: Use a stable 5V 2A supply. Some Pis and backlit screens need extra amps.
- USB vs GPIO: USB for touch and power is easiest. GPIO can reduce cable clutter but needs care.
- Case fit: Look for cases made for 7-inch displays or design a custom 3D-printed frame.
- Heat: If you run the Pi inside a tight case, add ventilation or a small fan.
When I first powered a Pi Zero with this screen, the Pi undervolted. Switching to a 5V 3A power bank solved it and kept the display bright.
Source: newegg.com
Pros, cons, and limitations
A clear look at strengths and trade-offs.
- Pros:
- Good color and viewing angles from the IPS panel.
- True capacative touch for modern touch feels.
- HDMI input makes it easy to use with many devices.
- Compact and lightweight for portable builds.
- Cons:
- 1024×600 limits workspace for complex apps.
- Some units need driver tweaks for full touch functionality.
- Backlight brightness varies across batches.
- Not ideal for color-critical photo editing.
I recommend this monitor for control panels and small interfaces. For photo editing or large dashboards, opt for higher resolution.
Source: amazon.com
Troubleshooting and common fixes
Short fixes for frequent issues.
- No display: Check HDMI cable and config.txt resolution settings.
- Touch not working: Ensure USB is connected and drivers are installed.
- Flicker or dim screen: Try a stronger 5V power source and check cable quality.
- Wrong orientation: Rotate display in config or software settings.
I once had jittering touch. Replacing a flimsy USB cable fixed it immediately and removed touch interruptions.

Source: sunfounder.com
Buying guide and what to look for
Choose the right unit by checking these features.
- Confirm exact model name: look for Raspberry Pi Screen 7inch Monitor IPS 1024×600 HDMI Capacative 7 in the specs.
- Check included cables and adapters to avoid extra purchases.
- Verify warranty and return policy for dead pixels or touch issues.
- Read user reviews for batch variations in brightness and touch sensitivity.
When buying, I favored sellers who provided clear specs and a 30-day return. That saved me time when one unit had a loose touch digitizer.
Frequently Asked Questions of Raspberry Pi Screen 7inch Monitor IPS 1024×600 HDMI Capacative 7
Is the Raspberry Pi Screen 7inch Monitor IPS 1024×600 HDMI Capacative 7 plug-and-play with Raspberry Pi?
Yes. Most units work out of the box with Raspberry Pi via HDMI and USB for touch. Some OS or config tweaks may be needed for exact resolution.
Can I power the Raspberry Pi Screen 7inch Monitor IPS 1024×600 HDMI Capacative 7 from the Pi?
Often you can, but it depends on power draw. Use a strong 5V supply to avoid undervoltage on the Pi.
Does the display support multi-touch gestures?
Yes. The capacative touch supports multiple touch points and works well with gesture-aware apps.
Will video playback be smooth on the Raspberry Pi Screen 7inch Monitor IPS 1024×600 HDMI Capacative 7?
Simple 720p playback is smooth on most Pi models. Heavy 1080p content may be limited by CPU/GPU on older Pis.
How do I fix touch calibration or misalignment?
Check the USB connection and driver. If needed, run a calibration tool in your OS or adjust touch mapping in software.
Conclusion
This 7-inch IPS HDMI touchscreen is a versatile pick for Raspberry Pi makers. The Raspberry Pi Screen 7inch Monitor IPS 1024×600 HDMI Capacative 7 gives crisp UI, wide viewing angles, and reliable touch in a compact form. Use it for dashboards, portable consoles, or any small display need. Test power needs, buy from a trusted seller, and expect a few simple setup steps. Try one in a small project to learn fast and build confidence. If you found this useful, leave a comment or subscribe for more hands-on guides and tips.