
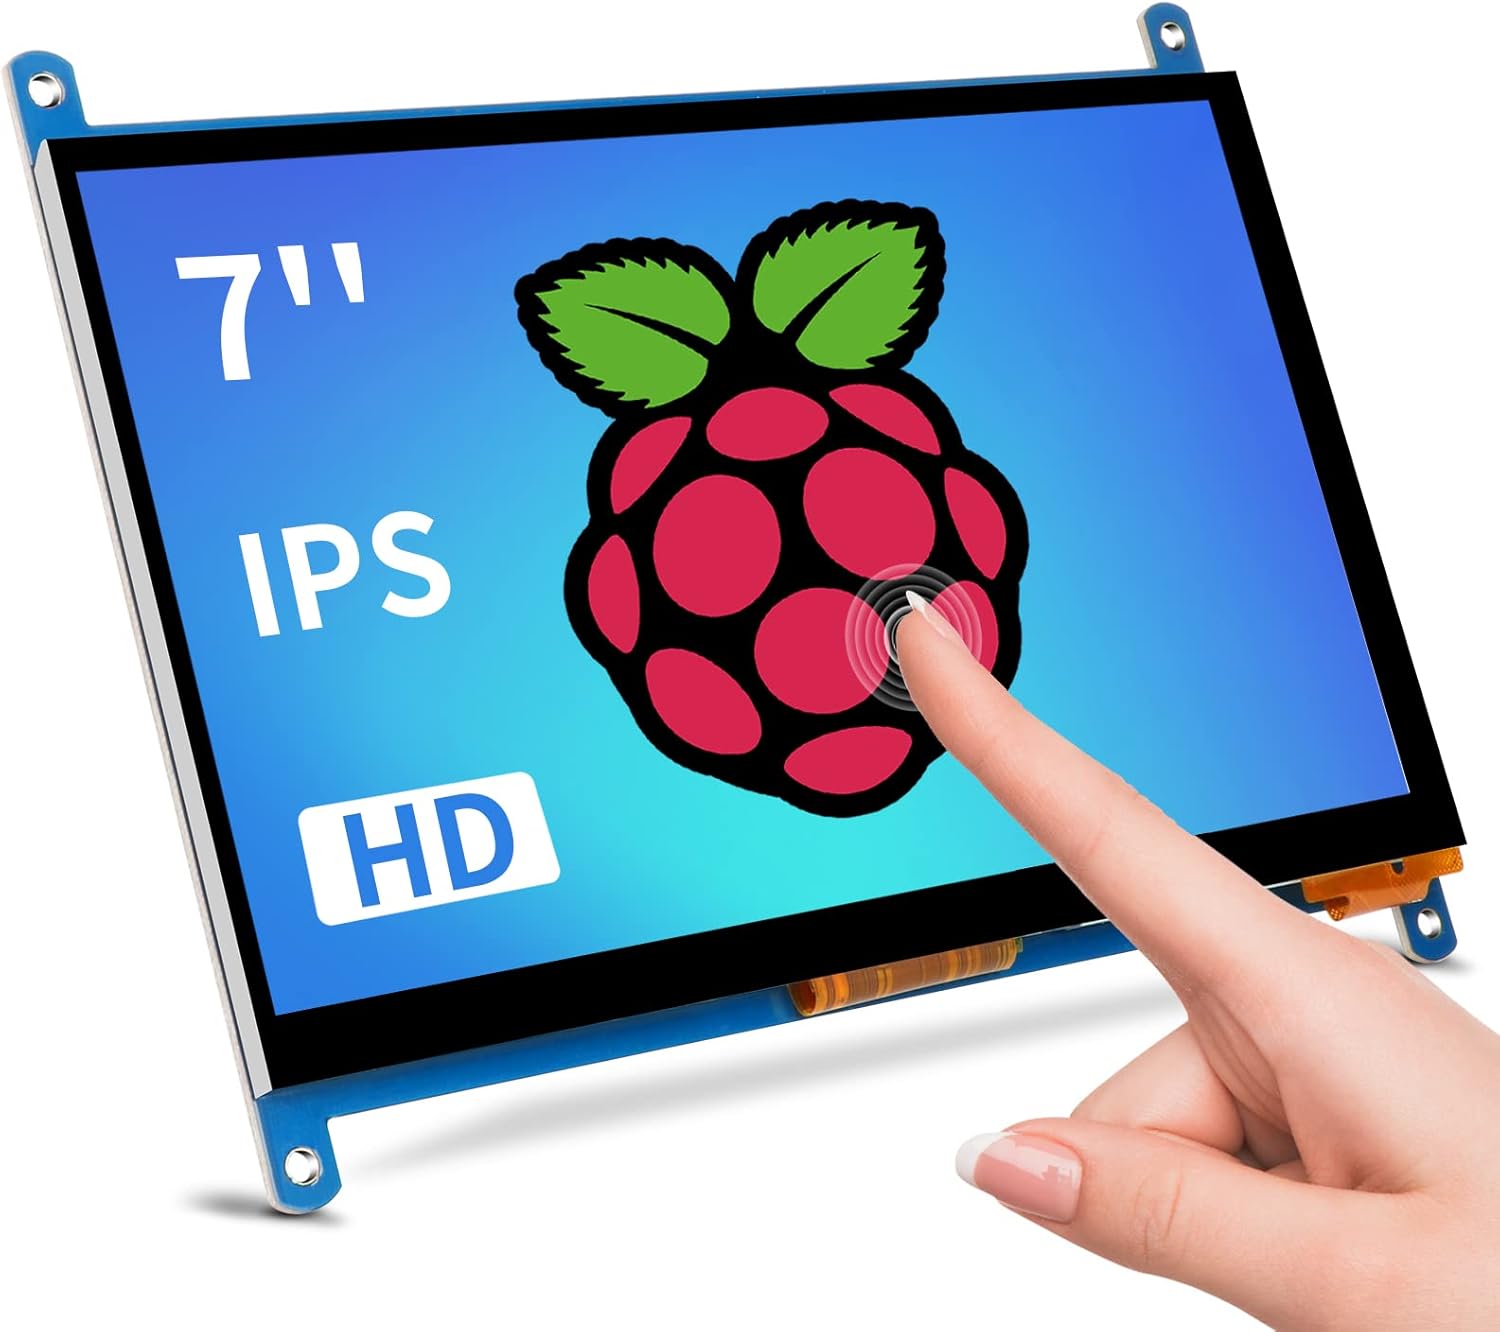
A compact HDMI touch display ideal for Raspberry Pi projects, portable setups, and DIY kiosks.
I have worked with Raspberry Pi displays for years, and I know what makes a 7 inch screen truly useful. This guide explains the Raspberry Pi Screen 7inch Monitor inside out. You will get clear specs, setup steps, project ideas, troubleshooting tips, buying advice, and real hands-on experience. Read on to make the right choice and get your screen running fast and stable.
<<Get Amazon For This Product>>
Why choose a Raspberry Pi Screen 7inch Monitor
A 7 inch monitor for Raspberry Pi hits a sweet spot. It is large enough to show menus and video. It is small enough for pocket projects and mobile builds. Many makers prefer the Raspberry Pi Screen 7inch Monitor for dashboards, retro gaming, and touch panels.
Benefits include:
- Easy mounting for cases and stands.
- Low power draw compared to larger displays.
- Good community support and many tutorials.
- Multiple interface types such as HDMI and DSI.
A Raspberry Pi Screen 7inch Monitor is versatile. It fits both hobby and light commercial use. If you want a neat, compact display, this size often makes the most sense.

Key specifications and variants of Raspberry Pi Screen 7inch Monitor
When shopping, compare these common specs. They determine which screen fits your project.
Common features:
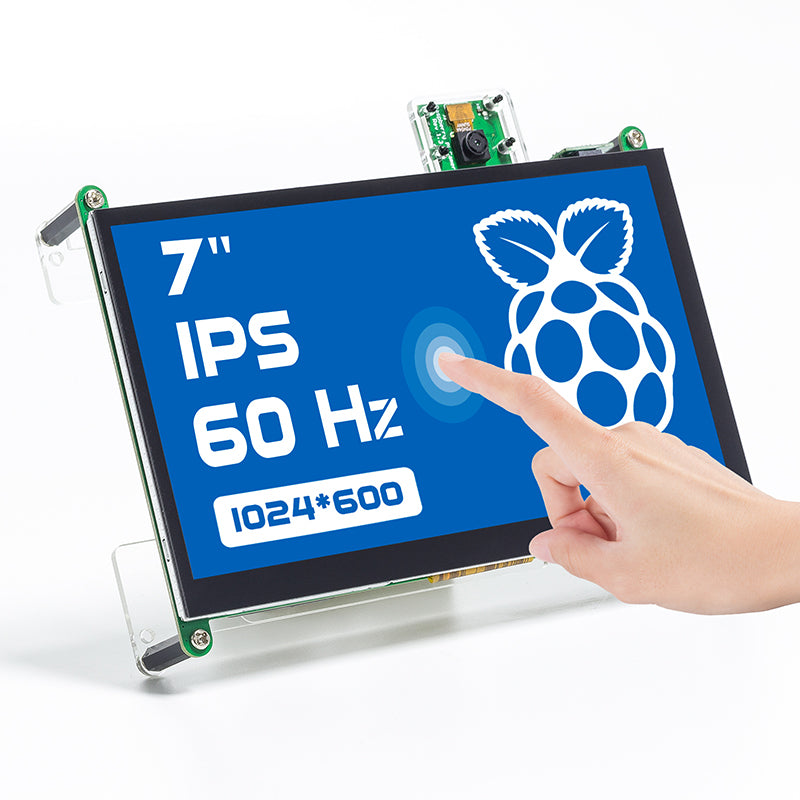
- Resolution: 800×480 or 1024×600. Higher clarity for text and graphics.
- Touch type: Capacitive or resistive. Capacitive feels modern and supports multi-touch.
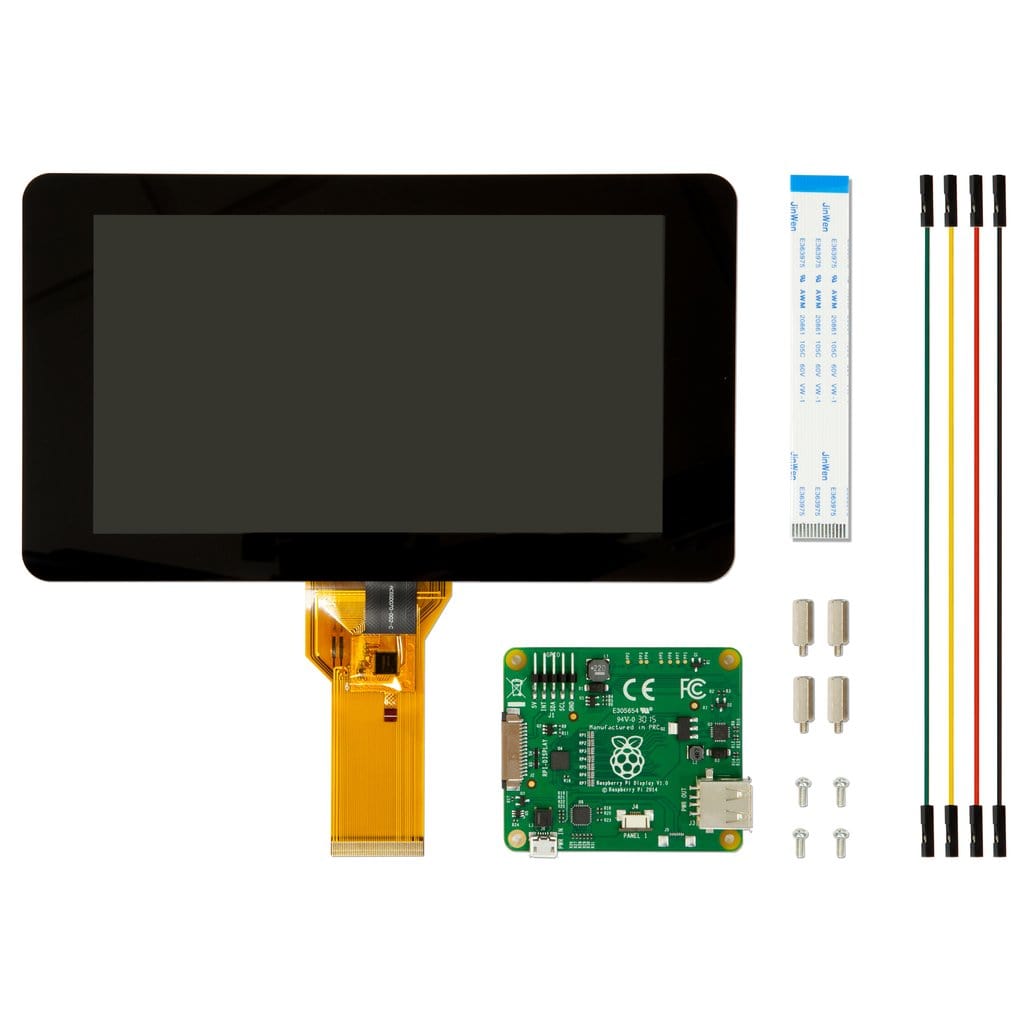
- Interface: HDMI, DSI, or SPI. HDMI is plug-and-play. DSI connects directly to the Pi’s display port.
- Power: USB power or power from the Pi’s GPIO. Confirm voltage and current needs.
- Frame and mounting: Bare panel, case-ready, or with VESA mounts.
- Extras: Backlight control, speakers, and camera connectors.
Variants include official 7 inch DSI screens and many third-party HDMI touch panels. Each variant has trade-offs in price, driver support, and build quality.

How to set up a Raspberry Pi Screen 7inch Monitor
Setup is simple in most cases. Follow these steps for a smooth install.
- Prepare hardware:
- Power off the Pi.
- Connect the DSI cable for an official DSI screen, or an HDMI cable for HDMI screens.
- Attach touchscreen USB or I2C if required.
- Power and boot:
- Power the Pi with a stable supply (5V 2.5A or better for Pi 3/4).
- If the screen needs external power, connect it before boot.
- Configure the OS:
- For HDMI: usually plug-and-play. Check config.txt if resolution is wrong.
- For DSI or special controllers: enable overlays or install drivers as instructed.
- Calibrate touch:
- Use xinput-calibrator or built-in tools.
- Save calibration to autostart for consistent results.
Practical tip from experience: use a high-quality HDMI cable and a clean power supply. Cheap cables or weak power cause flicker or black screens. For the Raspberry Pi Screen 7inch Monitor, small changes in config.txt often fix scaling and overscan problems.
Top projects and use cases for a Raspberry Pi Screen 7inch Monitor
This screen size works well in many projects. Here are ideas that fit the form factor.
- Retro handheld gaming: Build a Pi-based portable with controls and a battery. The 7 inch size balances playability and portability.
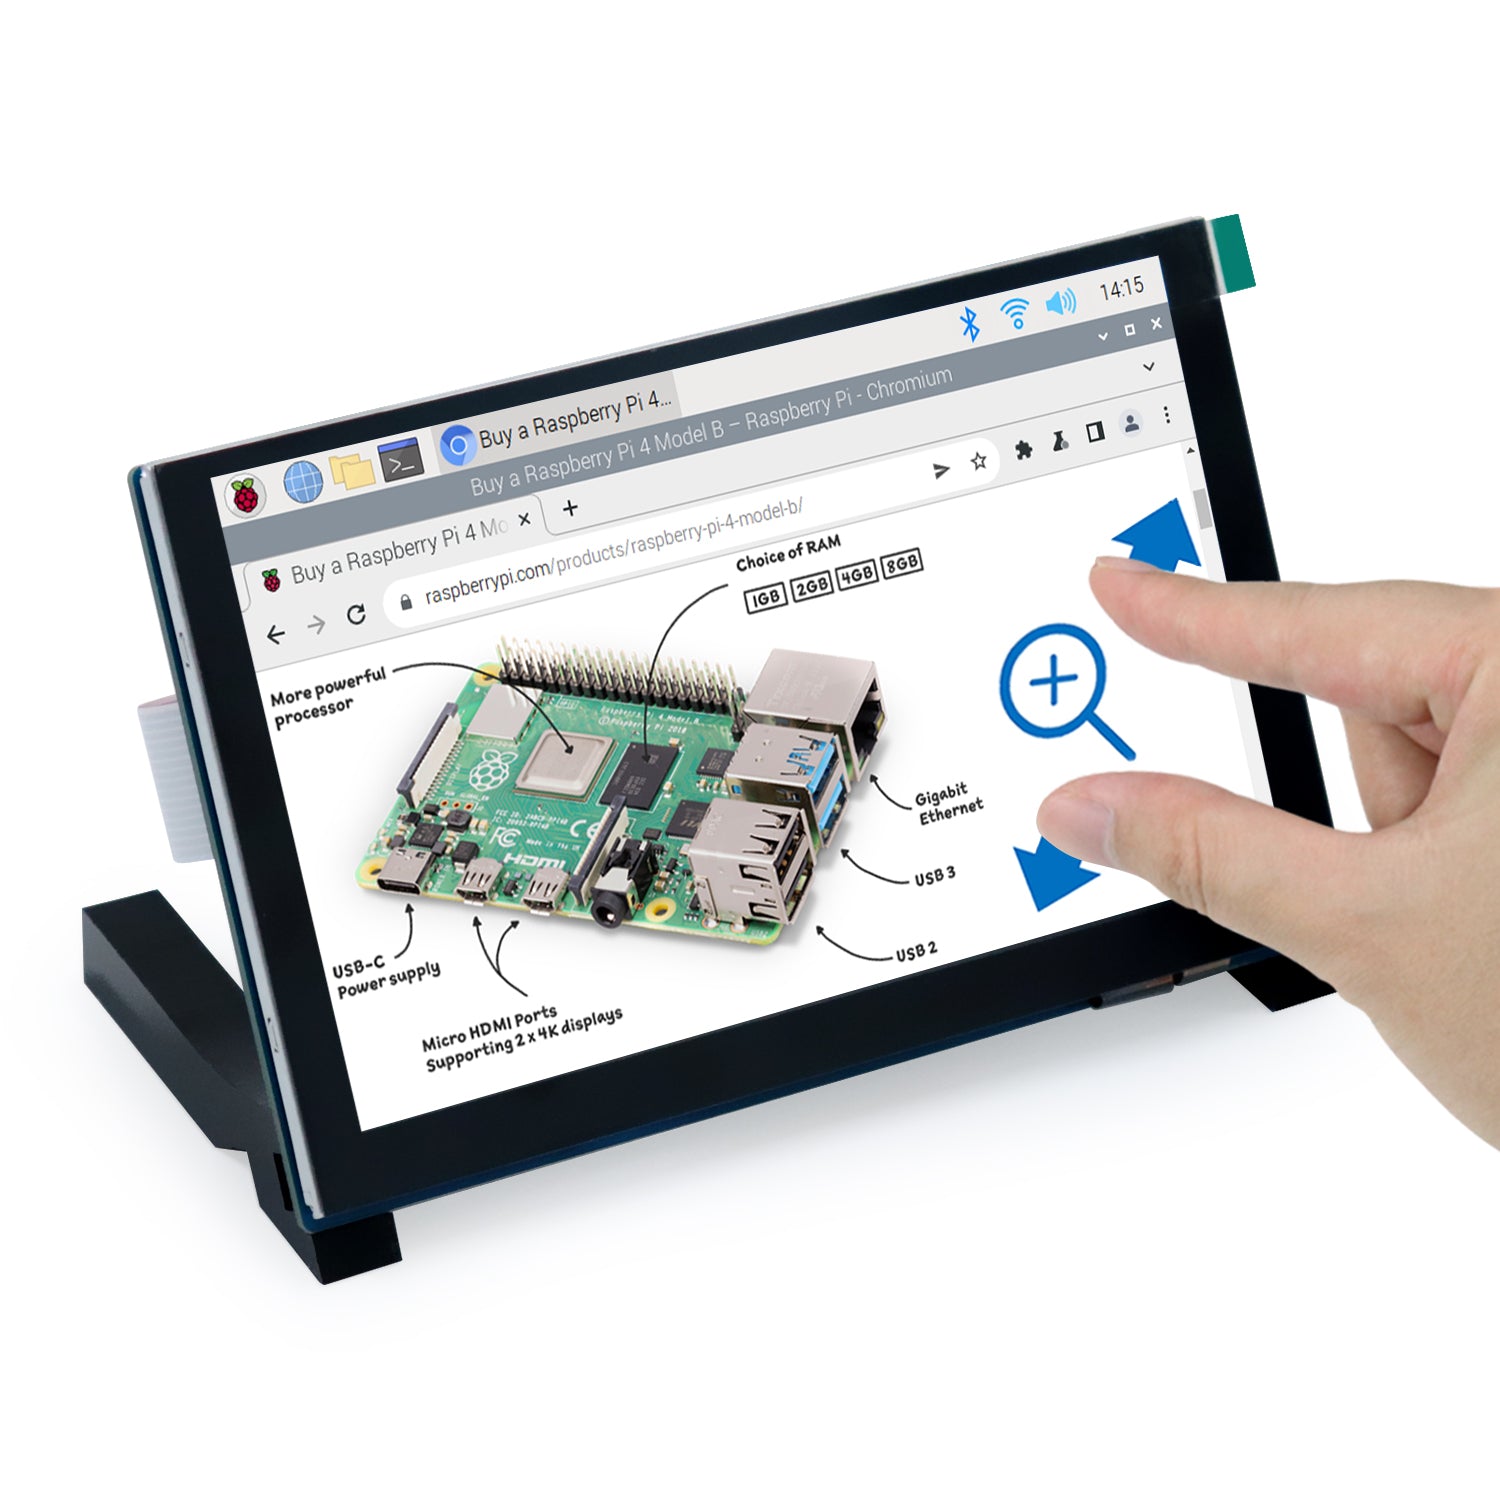
- Smart home dashboard: Show weather, controls, and sensors locked on a wall mount.
- Portable media player: Run media center software and use the touchscreen for playback.
- Camera preview: Attach a camera and use the screen as a live viewfinder for photography or timelapse.
- DIY kiosk or POS: A compact public display for menus, check-in, or information panels.
For each project, plan power, cooling, and mounting ahead. The Raspberry Pi Screen 7inch Monitor works best when cables and heat are managed cleanly.

Troubleshooting and common issues with Raspberry Pi Screen 7inch Monitor
Problems are usually easy to fix. Here are common symptoms and quick solutions.
Issue: Black screen on boot
- Check power and cable connections. Confirm the Pi boots without the display first.
- For HDMI, force HDMI mode in config.txt if the monitor does not report EDID.
Issue: Touch not working
- Verify USB or I2C connection. Install touchscreen drivers if the device needs them.
- Calibrate with xinput tools and save settings.
Issue: Flicker or unstable image
- Use a stronger power supply. Replace low-quality HDMI cables.
- Lower screen brightness or disable heavy GPU tasks if power is marginal.
Issue: Wrong resolution or overscan
- Edit config.txt to set hdmi_group and hdmi_mode, or disable overscan. For DSI screens, use vendor-provided overlays.
Transparency: some cheap third-party screens lack driver support for new Pi OS versions. Expect occasional driver updates or manual tweaks. I once fixed a flicker by switching to a better PSU and that solved the issue permanently.

Buying guide: what to look for in a Raspberry Pi Screen 7inch Monitor
Make a smart purchase by checking these points. They save time and headaches later.
Things to compare:
- Interface compatibility: DSI for official fit, HDMI for wide compatibility.
- Touch type: Pick capacitive for smooth multi-touch or resistive for stylus use.
- Resolution: Choose 1024×600 for sharper text and UI.
- Power method: Prefer USB-powered screens if you want easy power routing.
- Build quality: Look for a robust frame and included mounting holes.
- Driver and software support: Check forums and documentation for driver availability.
- Warranty and community: Sellers with active support save you effort.
Budget tip: spend a bit more on quality cables and a case. It improves reliability for the Raspberry Pi Screen 7inch Monitor.
Personal experience and practical tips
I have used multiple 7 inch screens across projects. Here are lessons I learned the hard way.
- Use a good power supply. Many display issues trace back to bad power. I upgraded to a 3A USB-C supply for a Pi 4 and stopped seeing reboots.
- Mounting matters. A shaky mount makes touch feel bad. Add rubber pads or a frame for stability.
- Buy driver-friendly models. I once bought a very cheap screen with no drivers. It took hours to patch and test a driver.
- Protect the display. Use a protective screen or case when shipping or commuting with your build.
- Calibrate once and save. Touch drift can be fixed by saving calibration to autostart.
These tips come from running displays in kiosks, handhelds, and lab benches. They work well in real projects and save time.

Frequently Asked Questions of Raspberry Pi Screen 7inch Monitor
What interfaces do 7 inch Raspberry Pi monitors use?
Most 7 inch monitors use HDMI, DSI, or SPI. HDMI is plug-and-play, DSI connects directly to the Pi display port, and SPI is common for low-cost touch panels.
Will a Raspberry Pi Screen 7inch Monitor run on my Pi Zero?
Yes. The Raspberry Pi Screen 7inch Monitor can run on a Pi Zero, but ensure the power supply and cables match the screen’s needs. Some displays need a larger Pi or extra power for touch and backlight.
Do I need special drivers for capacitive touch?
Some capacitive touch displays are native and need no drivers. Others require drivers or firmware. Check the vendor instructions and community guides for your specific model.
How do I power a 7 inch touchscreen with the Raspberry Pi?
You can power via the Pi’s USB or a separate USB supply. Some panels accept 5V from GPIO, but confirm current draw to avoid browning out the Pi. A stable 2.5–3A supply is a safe choice for most setups.
Can I use a Raspberry Pi Screen 7inch Monitor for gaming?
Yes. It is a popular size for retro gaming handhelds and mini-arcade builds. Resolution and aspect ratio may need emulator configuration for the best experience.
How do I fix a black screen after connecting my monitor?
First check cables and power. Then try forcing HDMI output in config.txt or re-install drivers for DSI screens. Test the Pi without the monitor to confirm it boots normally.
Is it hard to mount a 7 inch monitor in a custom case?
Not usually. Many 7 inch monitors have mounting holes or bead frames that fit common case designs. Measure screw spacing before ordering a case or bracket.
Conclusion
A Raspberry Pi Screen 7inch Monitor gives you a flexible, compact display for many projects. You now know key specs, setup steps, common fixes, and real-world tips to avoid pitfalls. Choose a well-supported model, use a stable power supply, and plan your mount. Start a project today, and share your build with the community to learn more. If this guide helped, try a small project now or leave a comment with your goals.